The Ultimate Guide to Concrete Finishing: What It Is and What Concrete Finishers Do
Introduction
Welcome to this comprehensive guide on concrete finishing. If you've ever wondered how your concrete driveway achieves its smooth, polished look or how intricate patterns are created on concrete patios, you've come to the right place. This guide aims to demystify the art and science of concrete finishing, a skill that is as crucial to construction as it is ancient.
What is Concrete Finishing?
Definition and Importance
Concrete finishing is the process of smoothing and texturing freshly poured concrete. It's not just about aesthetics; a well-finished concrete surface is also more durable and can withstand the elements better.
Why is Concrete Finishing Important?
Concrete finishing serves multiple purposes:
- Durability: A well-finished surface is more resistant to wear and tear, thereby increasing its lifespan.
- Aesthetics: A well-finished surface can significantly enhance the visual appeal of your property.
- Safety: Proper finishing can reduce hazards like slipping, especially in wet conditions.
Who is a Concrete Finisher?
Roles and Responsibilities
A concrete finisher is a skilled professional responsible for transforming raw, wet concrete into a functional and aesthetically pleasing surface. Whether it's a concrete floors and slabs or a more complex concrete patio, a concrete finisher has the expertise to bring your vision to life.
What Does a Concrete Finisher Do?
Here are the primary responsibilities of a concrete finisher:
- Preparation: This involves assessing the site and setting it up for the concrete pour.
- Pouring: The concrete finisher is responsible for laying the concrete evenly.
- Smoothing: After the pour, the surface is smoothed to prepare it for finishing.
- Texturing: Finally, various techniques may be used to add patterns or finishes to the surface.
Types of Concrete Finishes
Concrete finishes come in a variety of styles, each with its own set of techniques and ideal use-cases.
Smooth Finish
- How It's Done: This finish is achieved using a trowel or float.
- Where to Use It: Smooth finishes are ideal for indoor spaces and concrete garage floors.
Textured Finish
- How It's Done: Specialized brushes are used to create a textured surface.
- Where to Use It: Textured finishes are excellent for outdoor areas like concrete sidewalks and walkways, where slip-resistance is important.
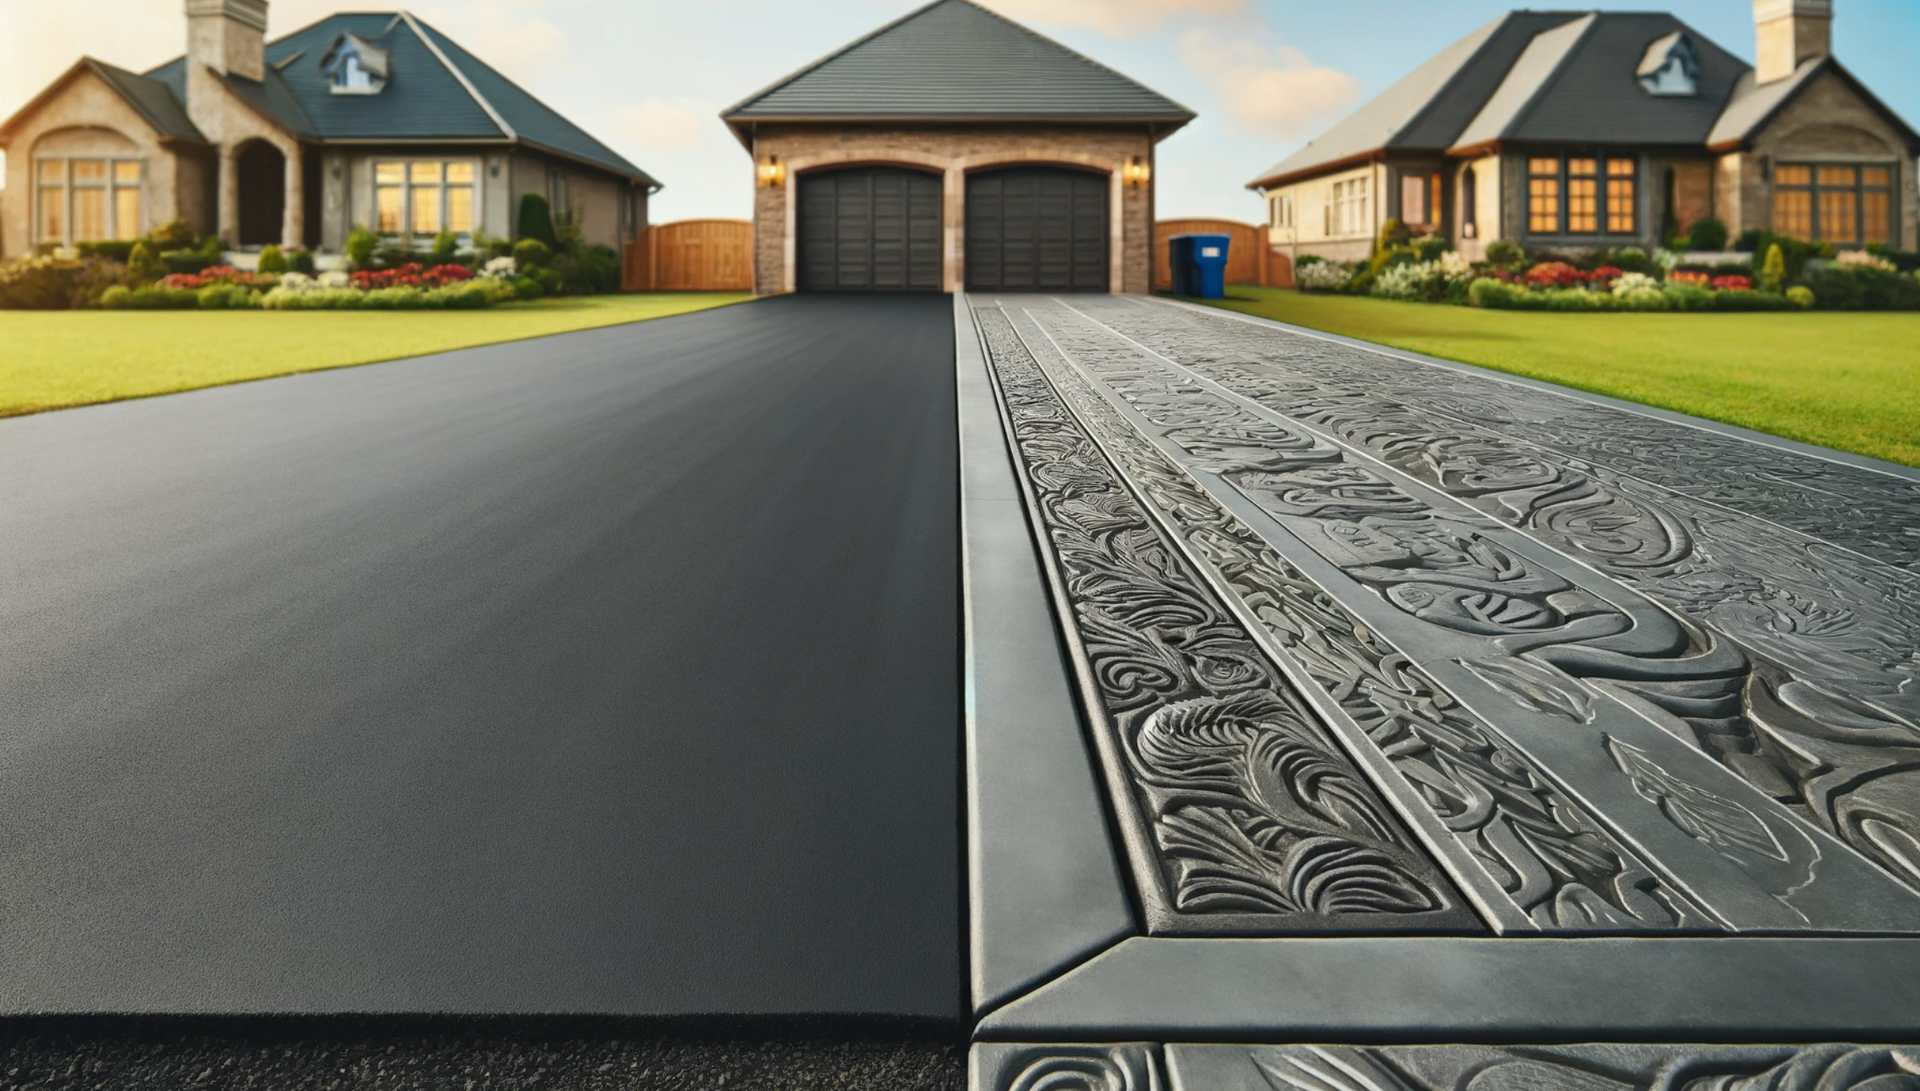
Decorative Finish
- How It's Done: This involves using stamps, dyes, and other techniques to create a decorative surface.
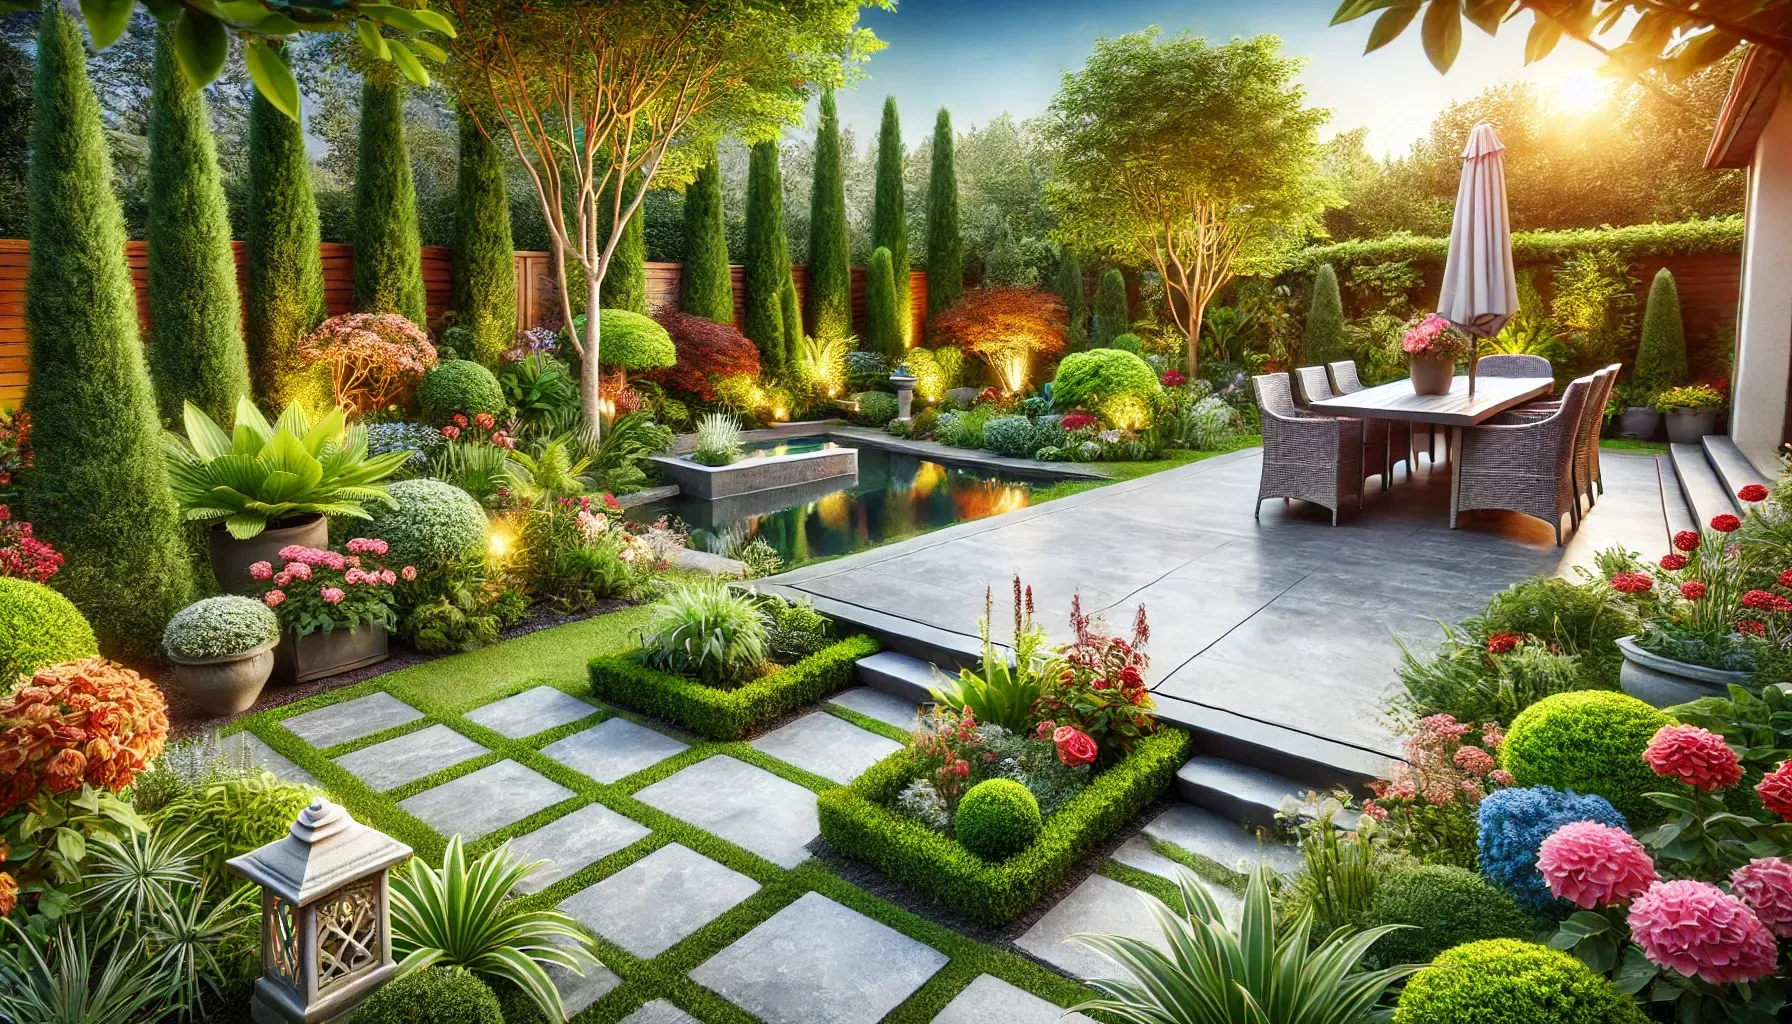
- Where to Use It: Decorative finishes are perfect for patios, pool decks, and other areas where aesthetics are a priority.
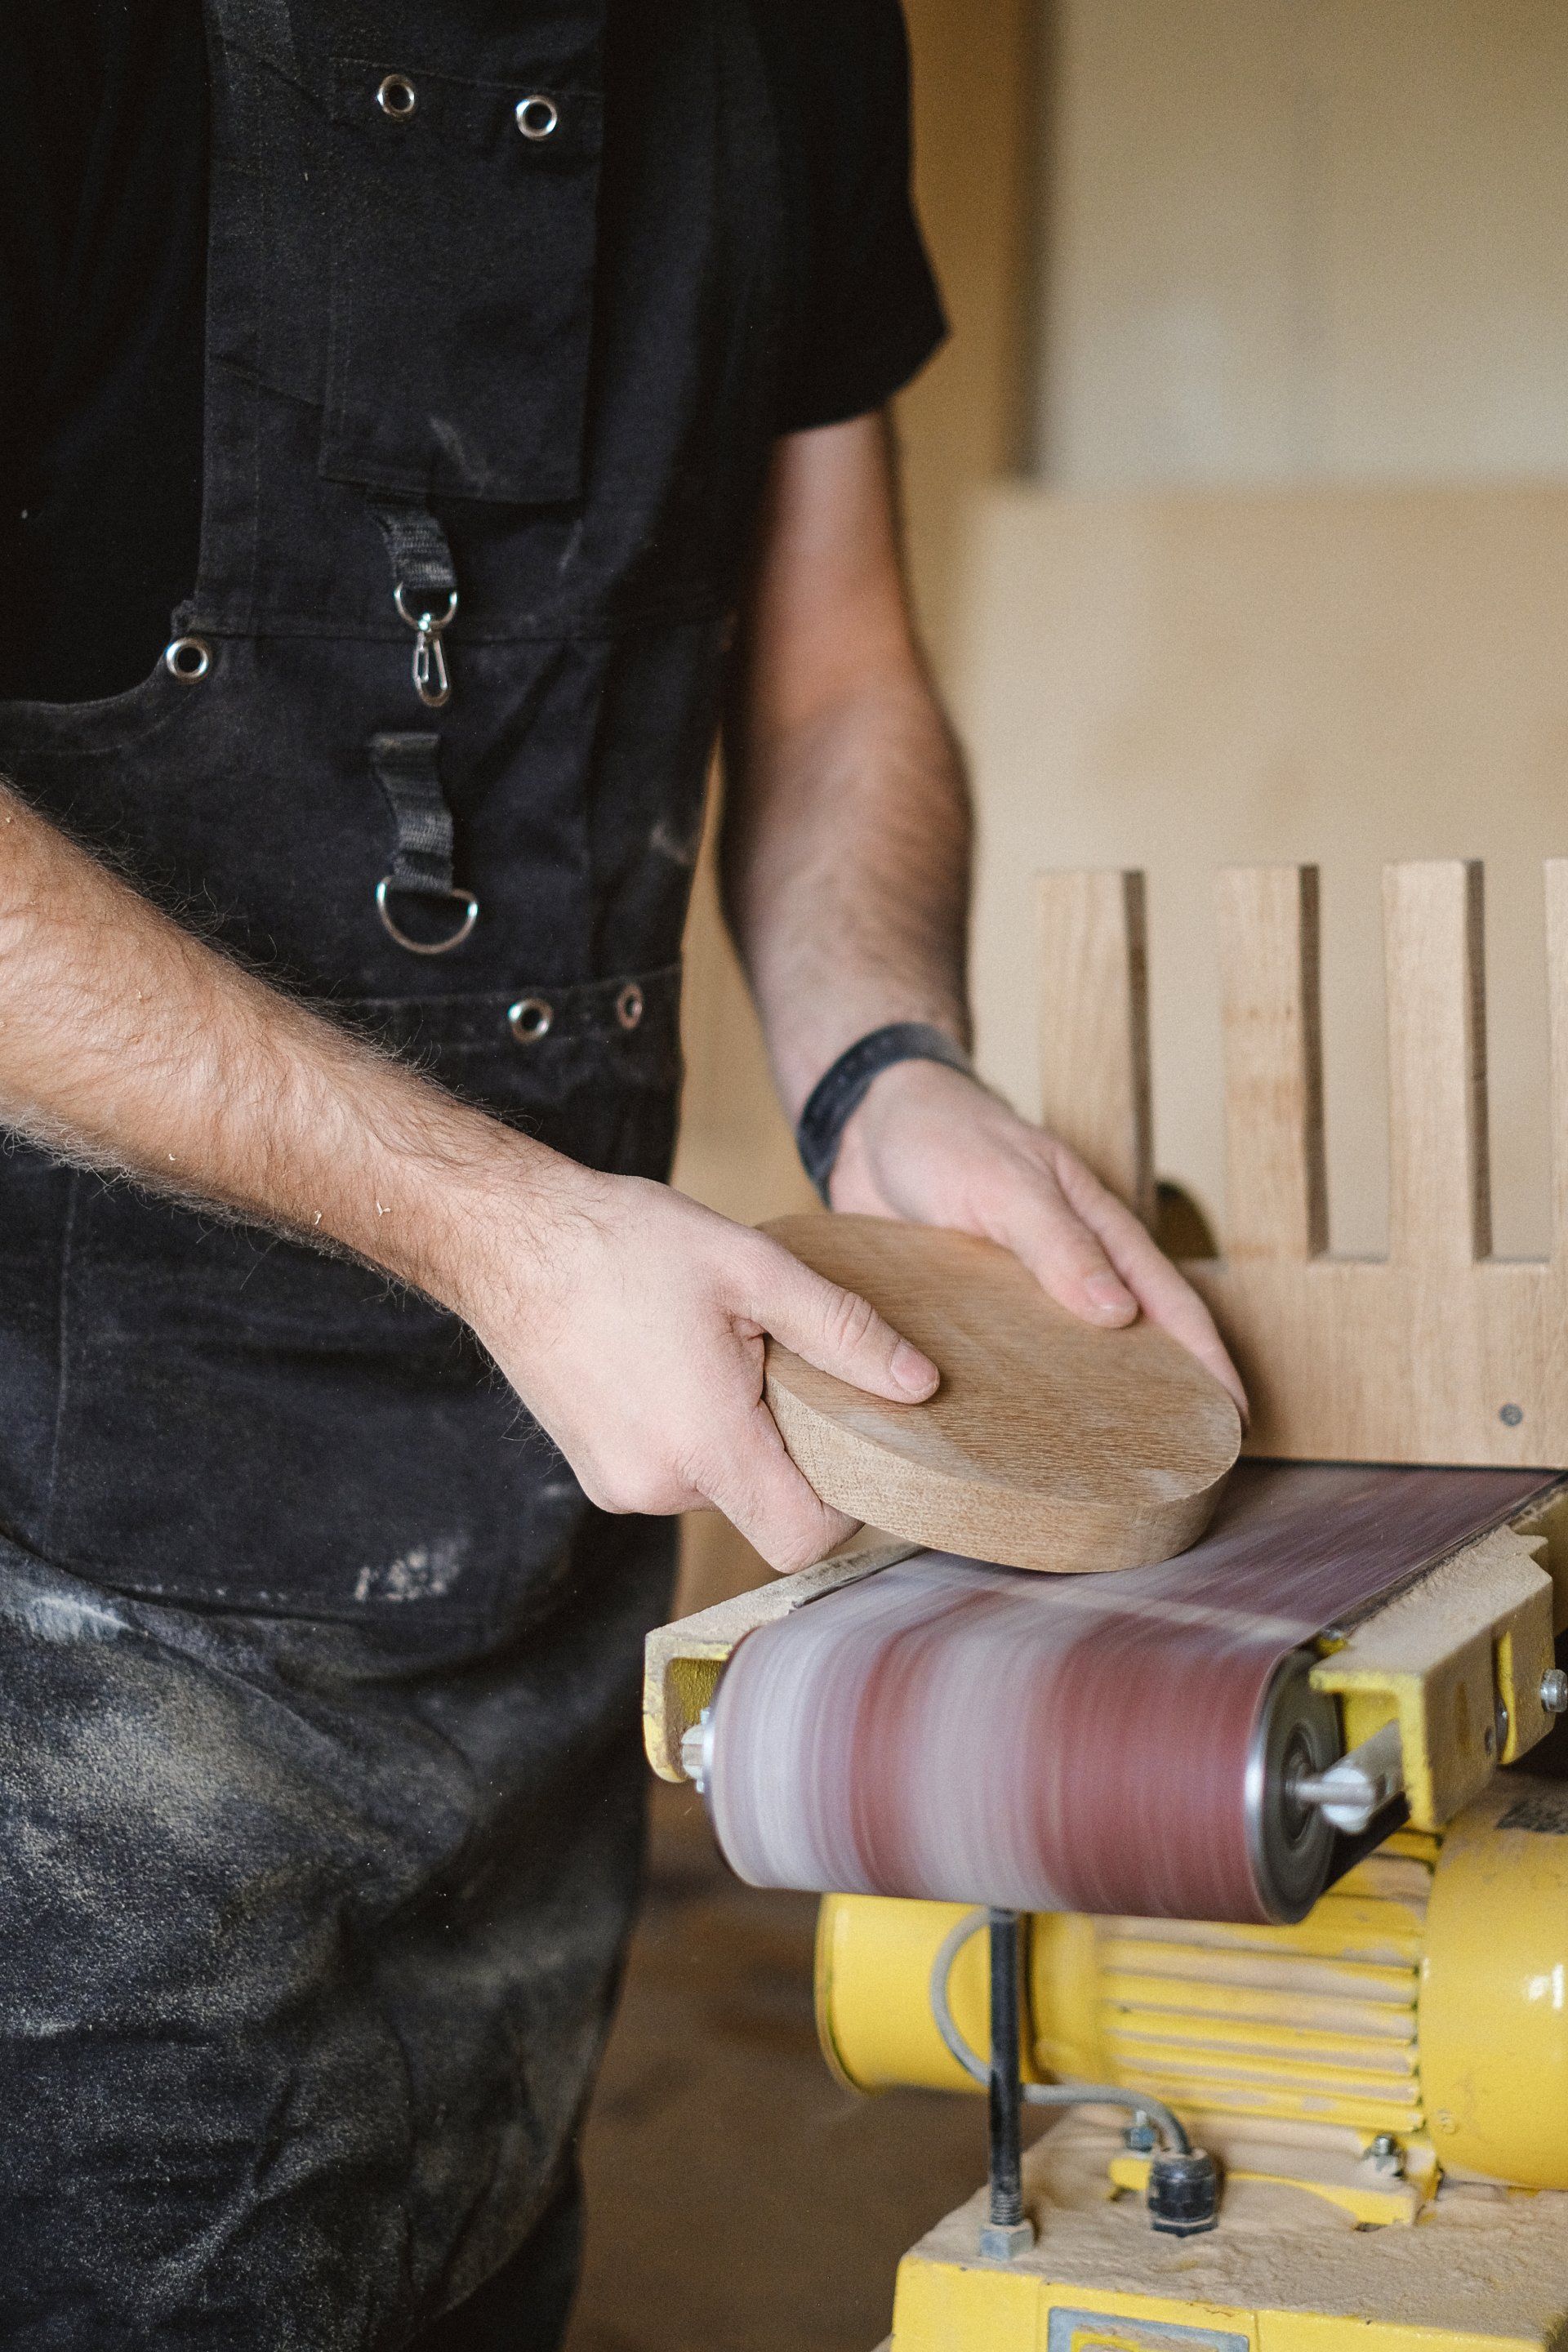
Techniques in Concrete Finishing
Concrete finishing is more than just pouring and smoothing; it's a multi-step process that requires precision, timing, and the right tools. Let's break down the key techniques that bring a concrete project from a wet, sloppy mess to a polished masterpiece.
Screeding
Tools You'll Need: A straight edge or a screed board is essential for this step.
The Process: First, you'll need to pour the wet concrete into the designated area. Once that's done, place your straight edge or screed board across the top of the concrete form. The key here is to move the screed board in a back-and-forth sawing motion from one end of the area to the other. This action helps level the wet concrete, removing any excess material and filling in any low spots that may exist.
Expert Advice: Always maintain a slight angle on the screed board. This helps to move the excess concrete forward, ensuring an even, level surface.
Floating
Tools You'll Need: A hand float or a bull float is crucial for this step.
The Process: After screeding, wait for a bit until the concrete loses its sheen. This is your cue to start floating. Take your hand float or bull float and glide it over the concrete surface in sweeping, arc-like motions. The goal here is to even out the surface and fill in any small holes or imperfections that may have been missed during screeding.
Expert Advice: Don't apply too much pressure while floating. The tool itself is designed to do the heavy lifting, so let it work its magic.
Troweling
Tools You'll Need: A hand trowel or a power trowel will be your go-to tools for this step.
The Process: Once the concrete has set a bit post-floating, it's time to bring out the trowel. Use the trowel to further smooth the surface, employing small circular motions for the best results. If you're working on a larger area, a power trowel can be used to achieve a similar, but quicker, outcome.
Expert Advice: You may need to make multiple passes with the trowel to achieve that super-smooth, polished finish you're aiming for.
Edging
Tools You'll Need: An edging tool is essential for this task.
The Process: Position the edging tool at the edge of your concrete surface. Press down and slide the tool along the edge to create a rounded or beveled finish. This not only adds aesthetic appeal but also reduces the likelihood of the edges chipping over time.
Expert Advice: Edging is particularly beneficial for aesthetic projects like concrete patios and porches, where the visual aspect is as important as functionality.
Texturing or Stamping
Tools You'll Need: Stamps or texture mats are your key tools here.
The Process: First, apply a release agent to your chosen stamp or texture mat. Then, press the stamp firmly onto the wet concrete surface, making sure to apply even pressure. Lift the stamp carefully and proceed to the next section, aligning the stamp to ensure a continuous pattern.
Expert Advice: If you're new to texturing or stamping, it's a good idea to practice on a small, inconspicuous area first to get the hang of it.
Curing
Tools You'll Need: Plastic sheeting or a curing compound is necessary for this phase.
The Process: After your concrete has set and all finishing touches have been applied, it's time to cure the concrete. This involves covering the concrete surface with plastic sheeting or applying a curing compound to keep the area moist. The concrete should be kept moist for at least seven days to allow it to reach its maximum strength.
Expert Advice: Curing is especially critical for load-bearing structures, where structural integrity is paramount.
DIY vs Professional Services: Making the Right Choice
The decision to tackle a concrete finishing project yourself or to hire professionals is a significant one. If you're dealing with a small project like a modest concrete patio or a garden pathway, taking the DIY route could be a practical choice. This is especially true if you're working with a tight budget, as doing it yourself can often be more cost-effective. However, you'll need to factor in the cost of tools, either purchased or rented. If you're someone who has a knack for home improvement tasks or has some experience with concrete work, a DIY project can also be a rewarding challenge. A pro tip for DIY enthusiasts is to start small to gauge your skill level and comfort with the material.
On the other hand, for more complex or larger projects, such as a concrete driveway or extensive concrete floors and slabs, the expertise of professionals is invaluable. Professionals not only bring experience to the table but also have the specialized tools to get the job done right. They can often complete the work faster and with a level of quality that might be challenging to achieve on your own. If you're considering hiring professionals, always check reviews and ask for references to ensure you're making an informed choice.
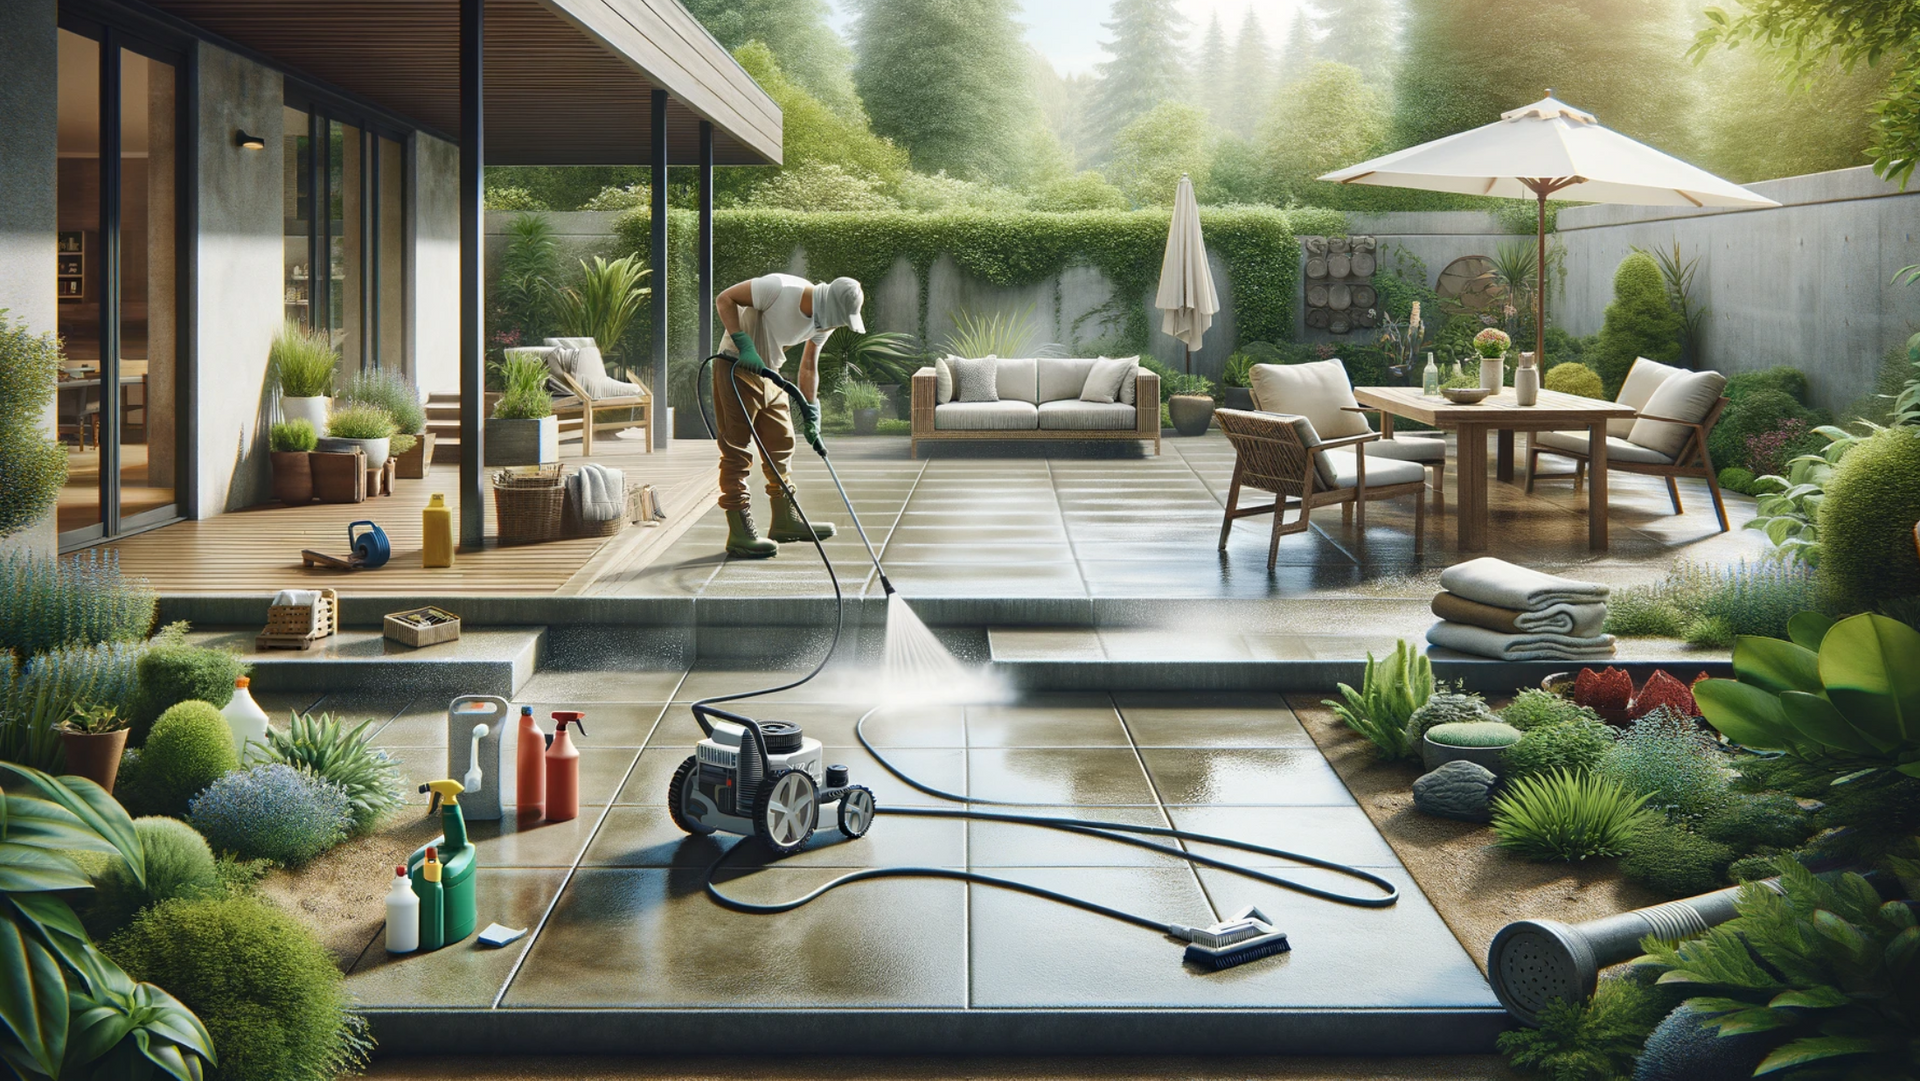
Safety Measures: Better Safe Than Sorry
Safety is paramount, regardless of whether you're doing it yourself or hiring professionals. Always wear appropriate Personal Protective Equipment, including safety goggles, gloves, and a dust mask. If your project is indoors, make sure the area is well-ventilated to disperse harmful fumes. Additionally, it's crucial to read the user manuals for any tools you're using and adhere to all safety guidelines. Keeping a first-aid kit nearby and being aware of emergency procedures for potential injuries like concrete burns can make a significant difference in ensuring a safe working environment.
Concrete Finishing for Different Surfaces: Tailoring Your Approach
The type of concrete surface you're working on will dictate your approach to concrete finishing. For instance, driveways require a finish that is both durable and slip-resistant; a broom finish often works well in this context for added grip. Indoor floors, on the other hand, usually benefit from a smooth, polished finish that not only looks sleek but is also easier to clean. When it comes to patios, aesthetics are often a primary concern. Stamped or colored concrete is a popular choice for these leisure spaces, offering both durability and visual appeal. Always consider the functional needs of the space when choosing a finish; it can make all the difference in the longevity and usability of your project.
Cost Considerations: Budgeting for Your Concrete Finishing Project
One of the most crucial aspects of any concrete finishing project is the budget. Costs can vary widely depending on the size of the project, the type of finish you choose, and whether you opt for DIY or professional services. For those considering a DIY approach, remember to factor in the cost of tools and materials. These can add up quickly, especially if you're aiming for a more complex finish like stamping or coloring. On the flip side, while hiring professionals may seem like a more expensive option upfront, the investment often pays off in the form of a quicker turnaround and a higher-quality finish.
If you're working with a tight budget, it's essential to prioritize. Focus on what's absolutely necessary for the project's success. For example, if you're finishing a concrete driveway, durability and slip-resistance might be more important than intricate decorative elements. Always get multiple quotes if you're considering professional services, and don't hesitate to negotiate. A pro tip here is to ask for itemized quotes to understand where your money is going, which can also help you identify areas where you might be able to cut costs.
Maintenance and Longevity: Keeping Your Concrete Looking New
Once your concrete finishing project is complete, the work isn't entirely over. Proper maintenance is key to ensuring that your new concrete surface remains in top condition for years to come. Regular cleaning is essential, especially for outdoor surfaces like driveways and patios that are exposed to the elements. For indoor surfaces like floors, a good sealant can go a long way in preventing stains and wear.
Additionally, consider the climate and usage when planning your maintenance schedule. Outdoor surfaces may require resealing every couple of years, especially in harsh climates. For high-traffic areas, additional measures like protective coatings may be beneficial. And don't forget, if you ever notice cracks or other signs of wear, it's best to address these issues promptly to prevent further damage.
Conclusion: Wrapping It Up
Concrete finishing is both an art and a science, requiring a blend of technical skill, creativity, and practical know-how. Whether you're sprucing up a small patio or embarking on a large commercial project, the principles remain the same. From understanding the different types of finishes to mastering the techniques and making informed cost decisions, this guide aims to be your one-stop resource for all things related to concrete finishing.
So, whether you're a DIY enthusiast keen to get your hands dirty or someone who prefers the expertise of professionals, there's a concrete finishing solution for you. Armed with the knowledge from this guide, you're well on your way to transforming your concrete surfaces from mere functional slabs to works of art that are as durable as they are beautiful.
Are Ready To Work With HAMILTON CONCRETE WORKS?
Let's get in touch!
Send us a message and we’ll be in touch.
Or give us a call today at 289-204-1632